Are you looking for a nice gift or a small souvenir? Design your own DIY magnets with photos, drawings, lettering...
You need:
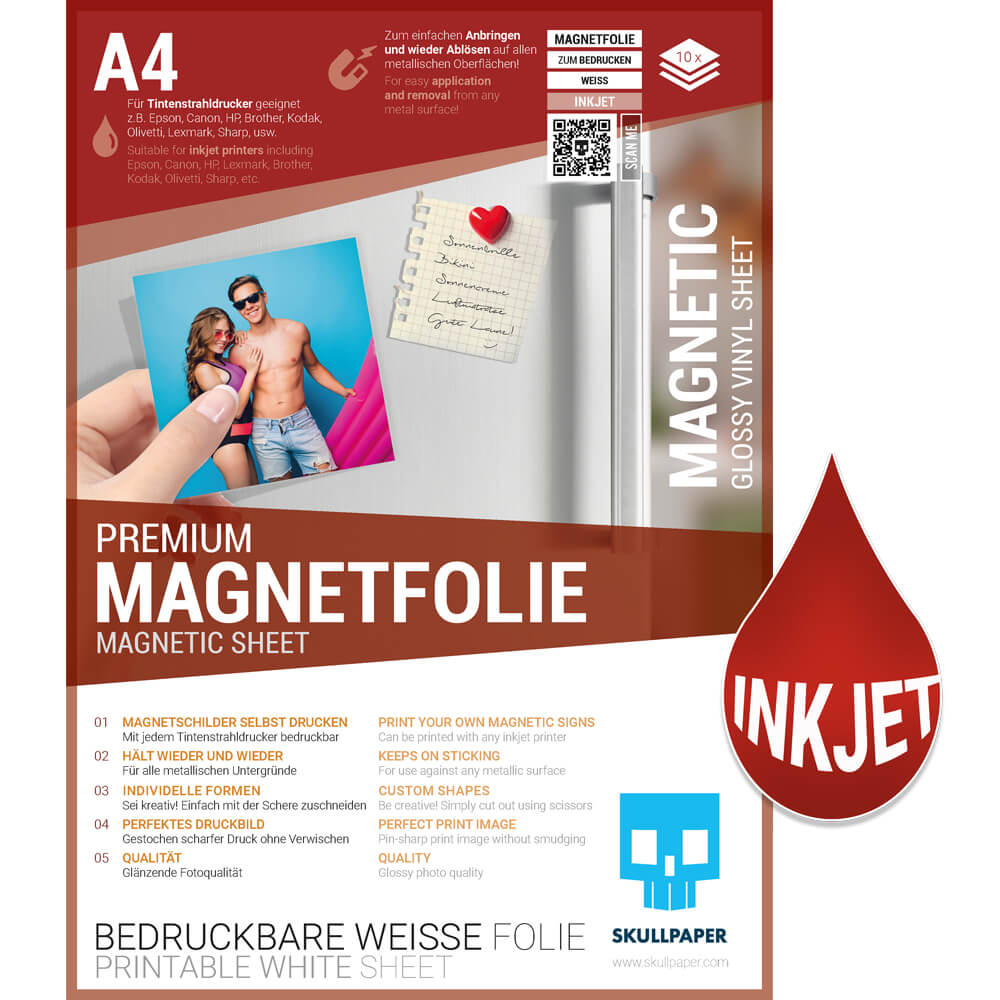
… Magnetic foil Inkjet A4 from SKULLPAPER
… a Inkjet printer
... a good idea for one motive
and depending on the choice of motif Paper, colored pencils and scissors
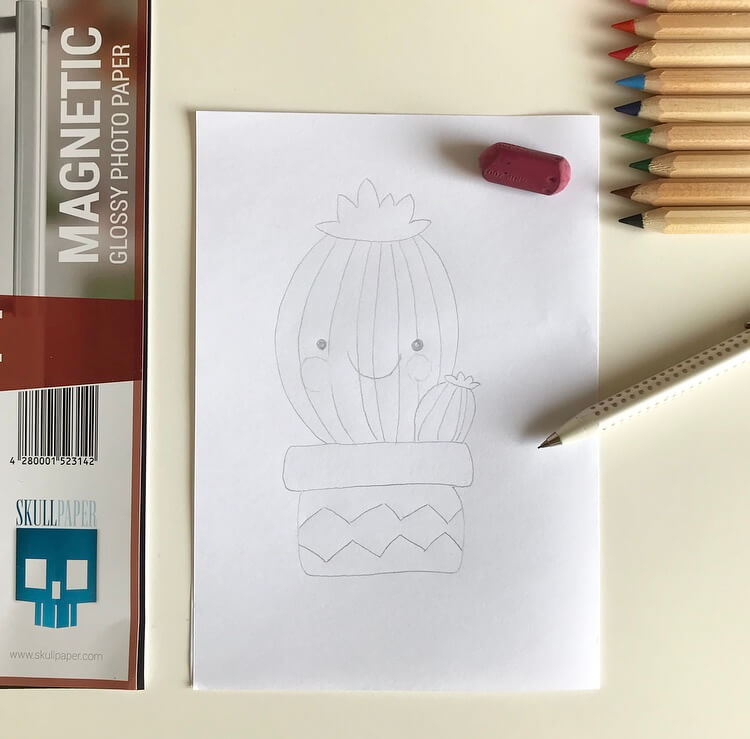
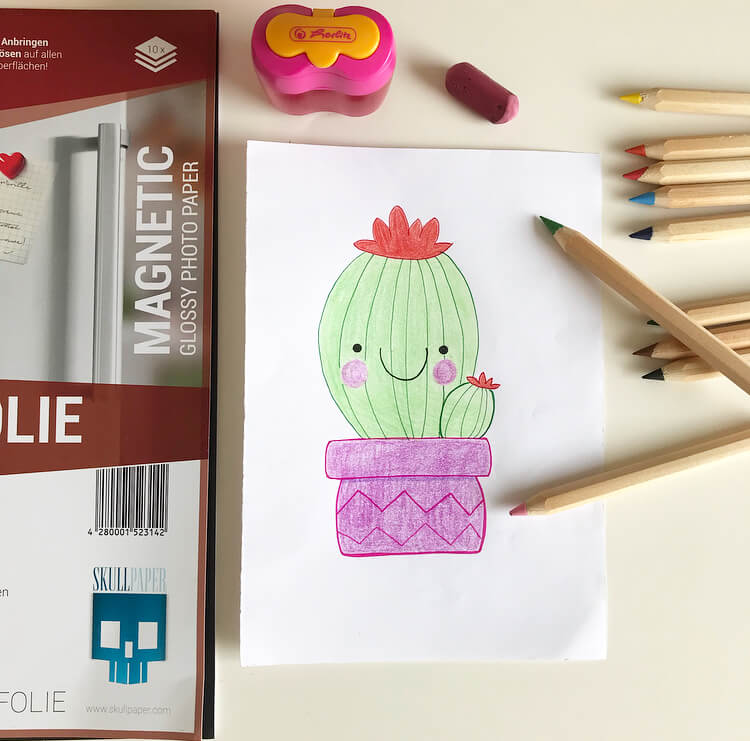
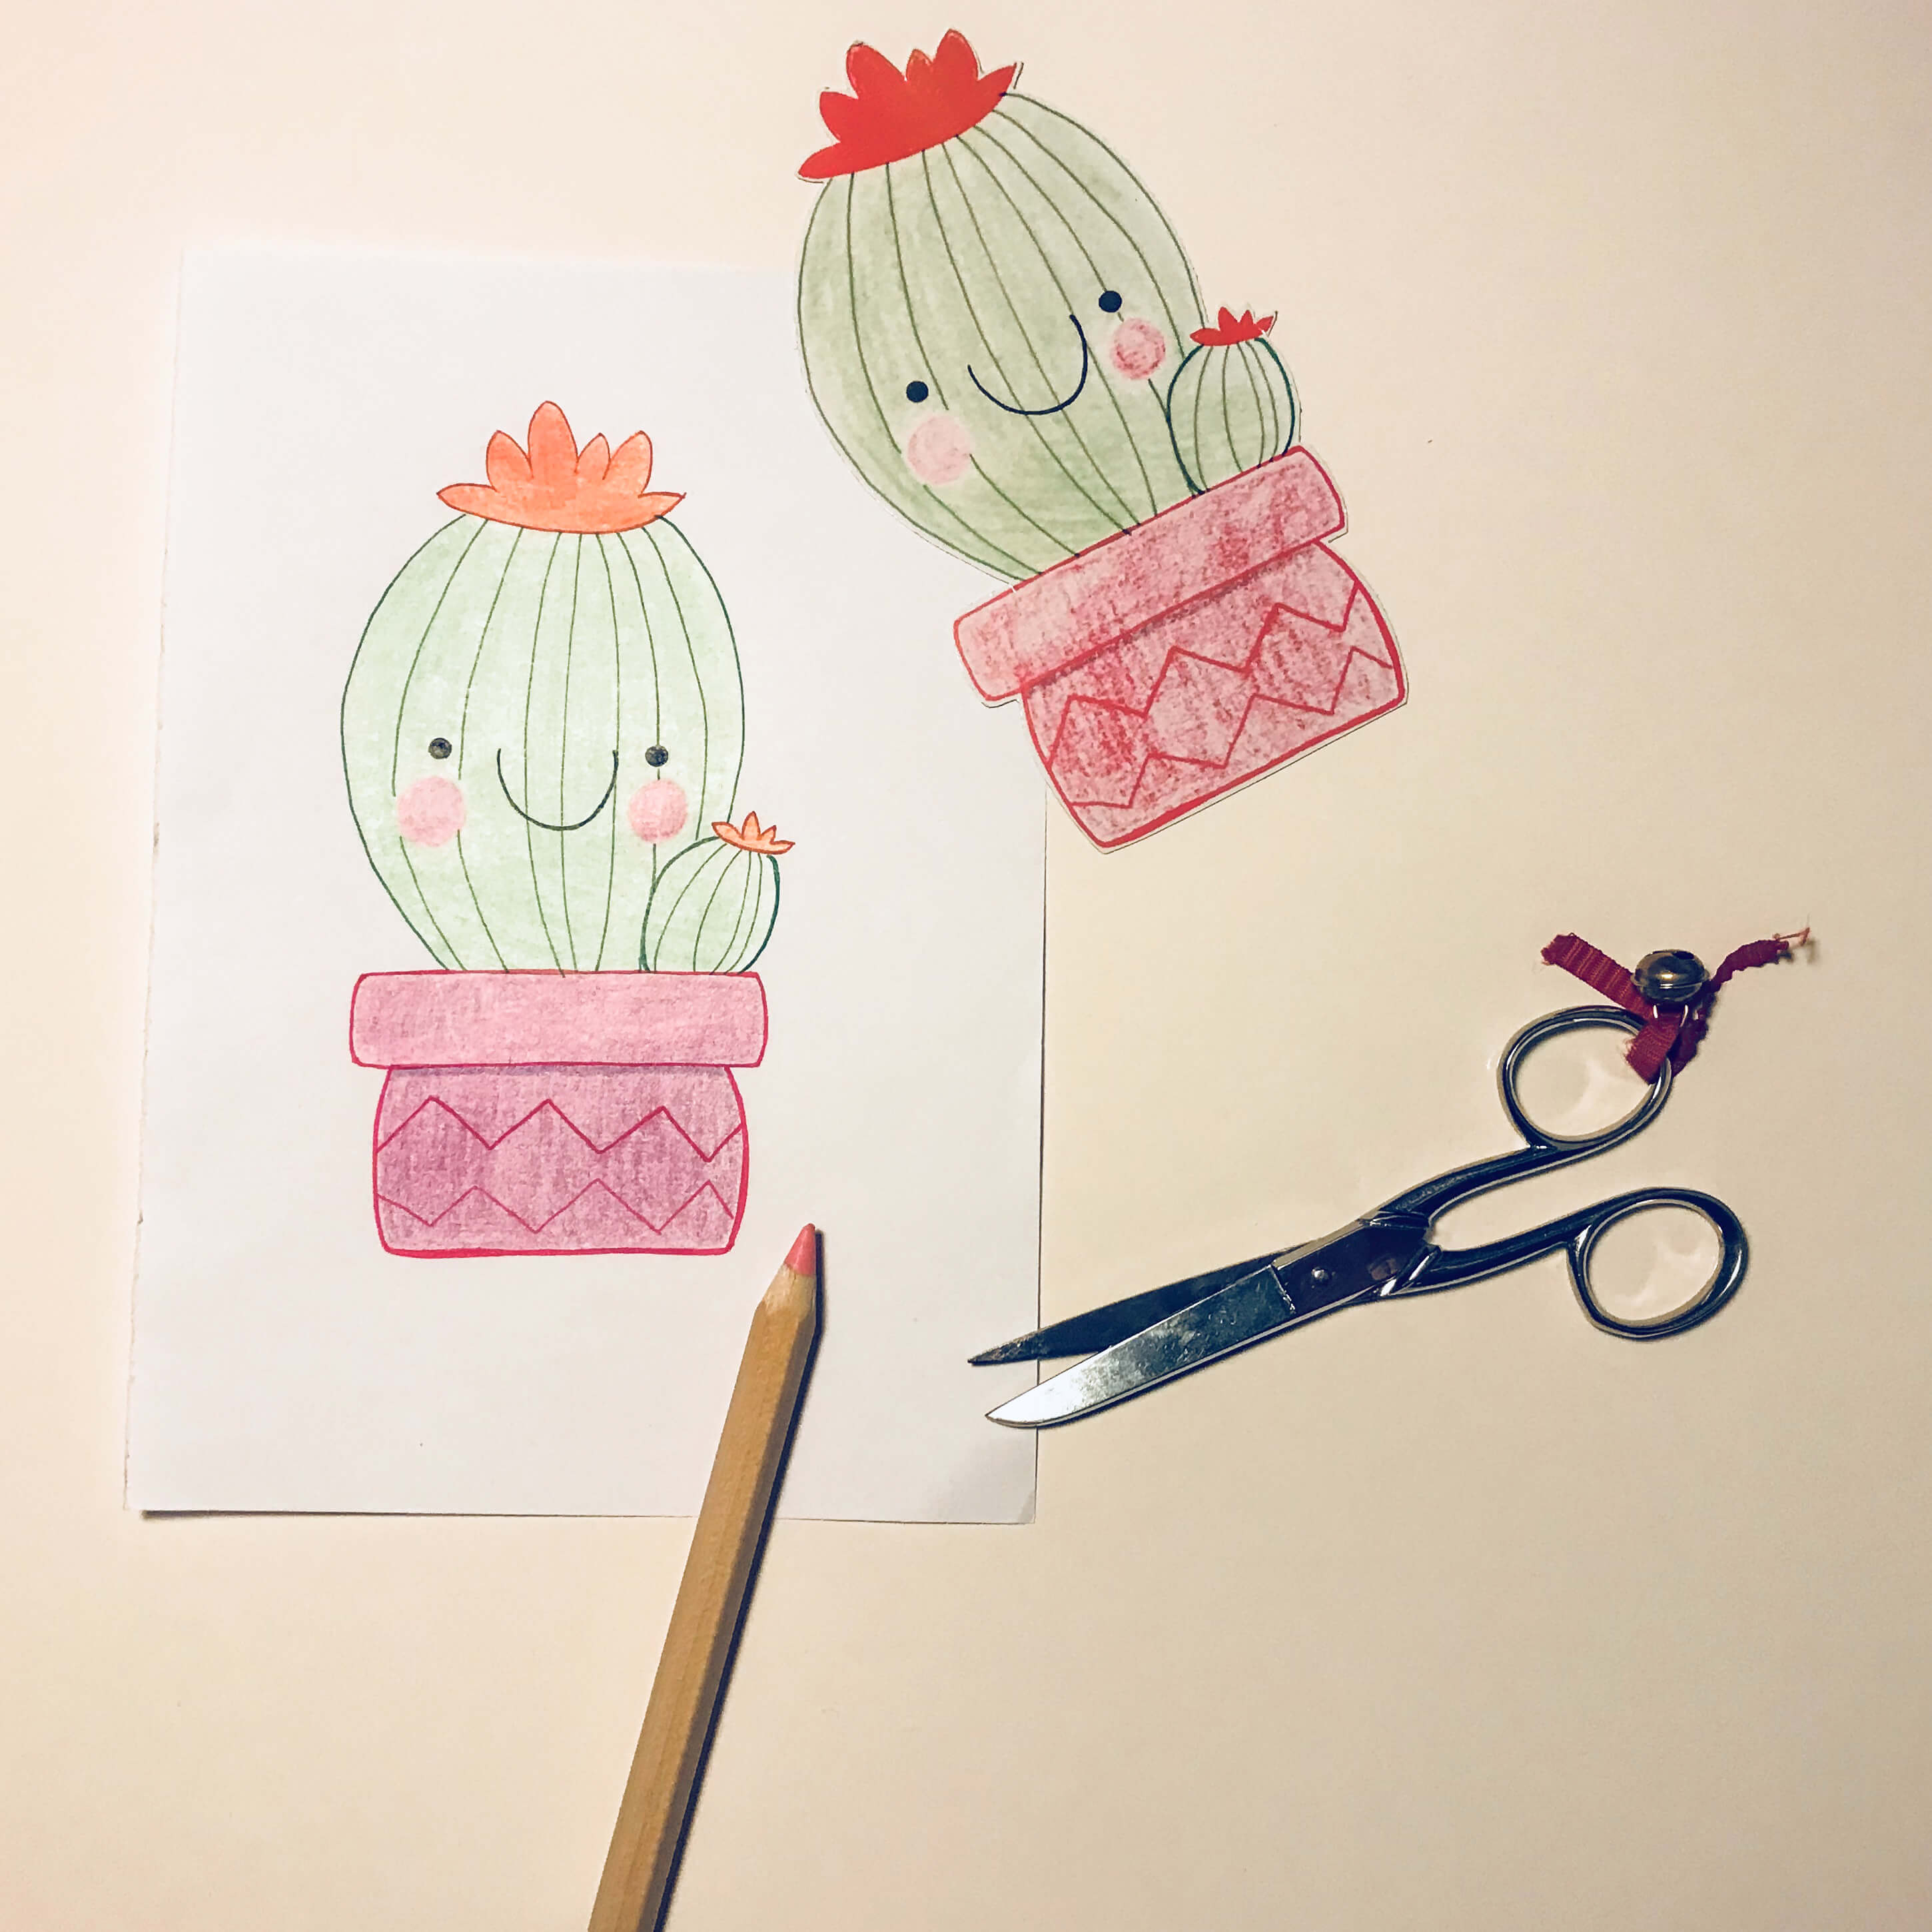
Record the motif and color it colorfully – with which pens? No matter! A little tip: if you use wooden pens, you have to press them a little harder so that the colors come out well later when copying onto the magnetic foil. You can trace the outlines with a thin felt-tip pen, just like the striking details of your DIY motif.
Next, take a sheet of magnetic film and place it in the copier. It is important to make sure that you insert the film into the feeder so that the printer can print the motif on the white side of the magnetic film. The print quality also improves if you select “optimal photo quality” and “glossy paper” under the print settings in the printer menu. Press copy, wait a few seconds, let it dry briefly and you have a DIY magnet in your hands.
Finally I cut out the motif. The Magnetic foil from Skullpaper can be cut very easily, almost like paper, so a simple pair of craft scissors is enough to cut it out. This way you can give the motifs really nice shapes and you don't have to leave them rectangular or square.
I liked the idea of DIY magnets so much that I did it with my nine-year-old kids at school. And lo and behold, many unique magnets were created here too:
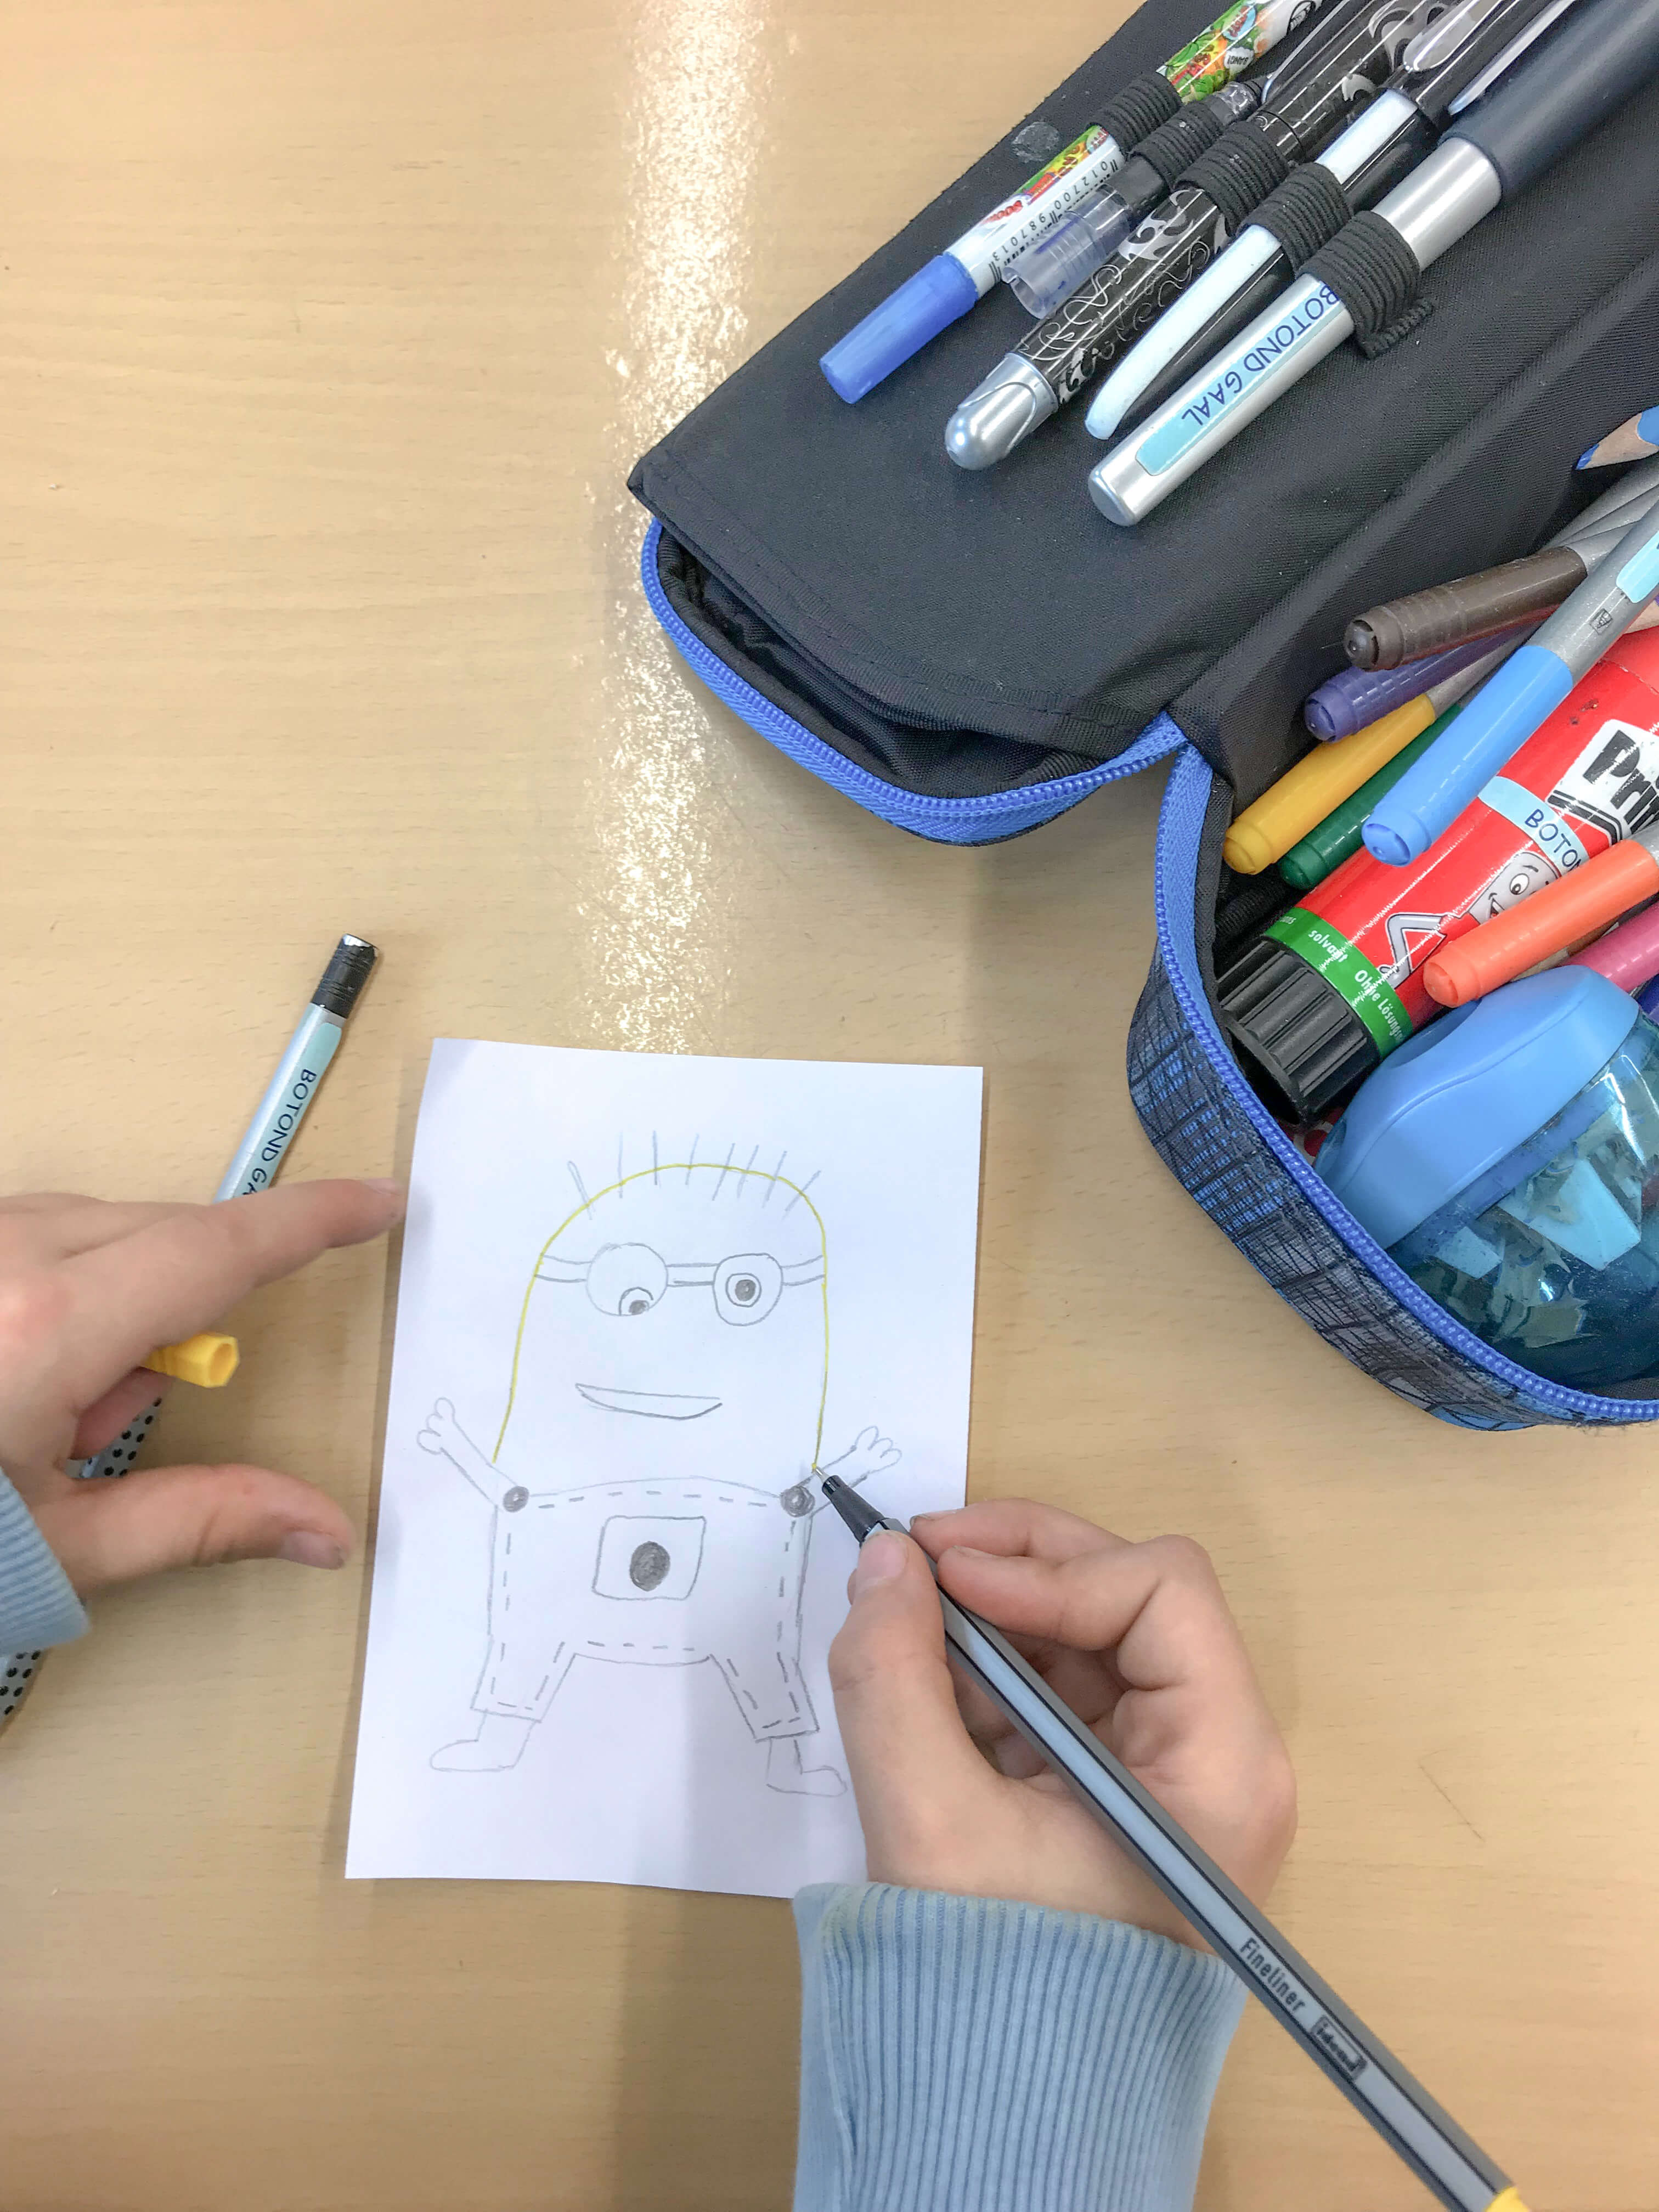
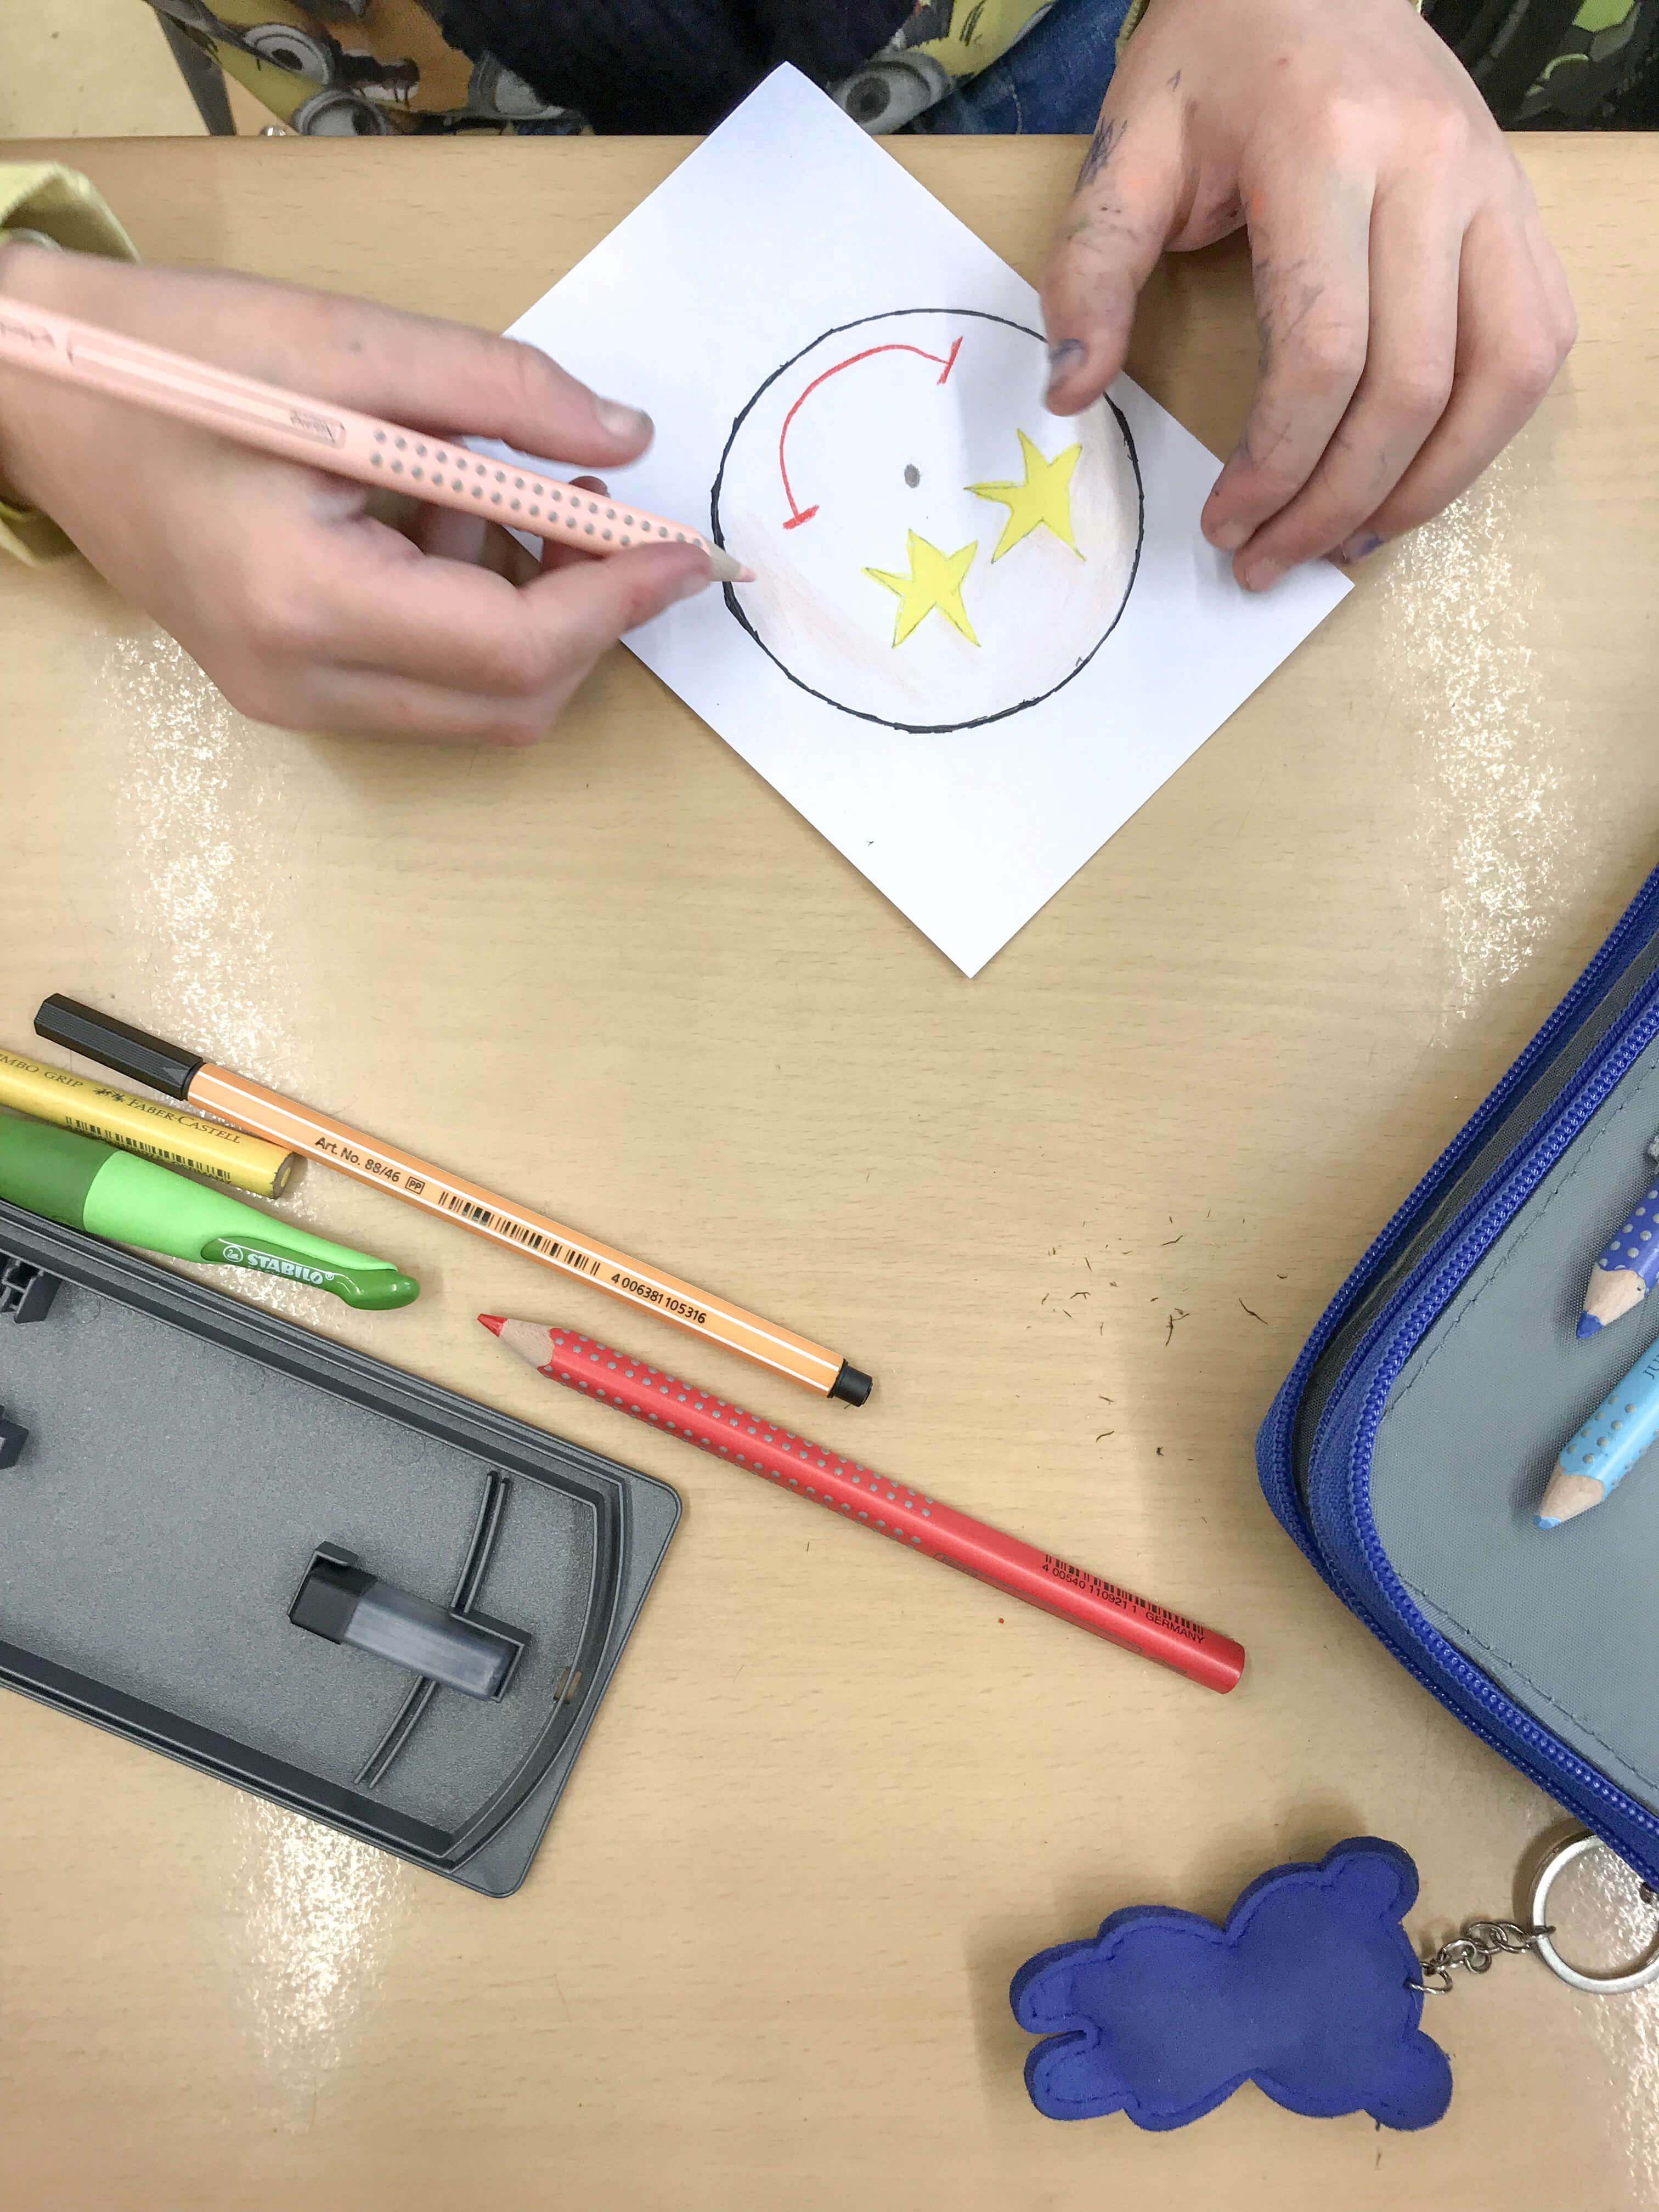
I told my school children what I planned to do with them. They couldn't help but be amazed and numerous fingers went up: “I'm painting a dolphin!”, “I'm painting a cupcake with a face just like you!” […]
We collected some ideas together on the board, as there are always one or two children in a class who don't have any ideas of their own. I also explained that we paint with wooden colored pencils, that we have to press a little harder so that the colors can still be clearly seen after printing, and that we trace the outline with a felt-tip pen.
The children got to work and I think they came up with really great pictures: some drew emojis, others painted flowers, and others tried their hand at a horse, a pineapple or a pumpkin. Without a doubt, the most popular motif was the Minions. Almost an entire minion family has come into being.
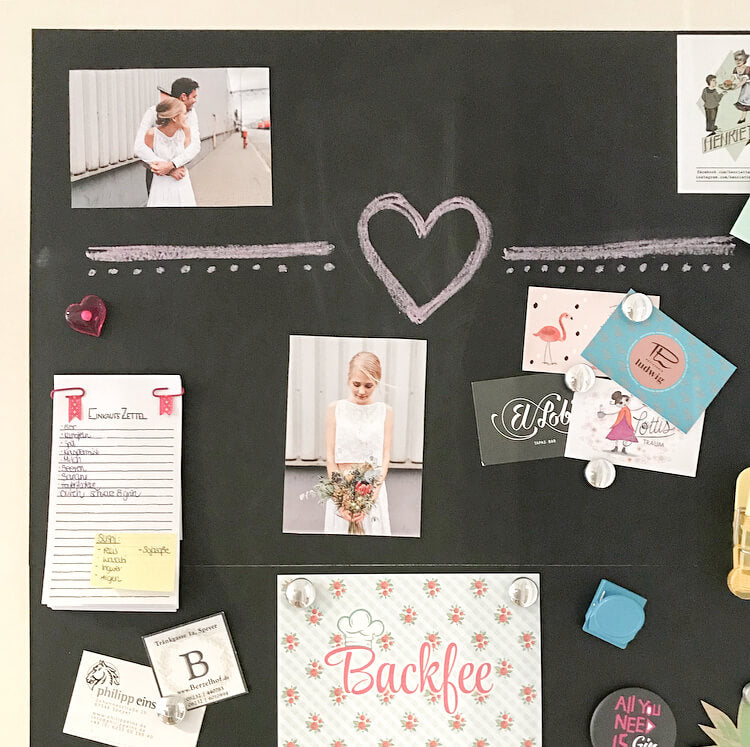
I thought the idea was so great that I quickly painted a minion. Unfortunately, time always flies during a painting lesson, so not all of the children have finished their pictures. After pleading and begging, they still had some time to do this in the next few days during the free work phase. Since then, not a day has gone by without the children coming to me and asking me when they would finally get their magnets. So I took the little paintings home over the weekend and printed them on the magnetic sheet using my inkjet printer. I liked some of the motifs so much that I made a magnet of them for myself. These now adorn my magnetic board in the study. A very nice memory of a lovely, sometimes very turbulent class.
Full of enthusiasm, they showed their classmates their magnets and tried to hang them on the board. Tadaaa! Here too they got stuck. The children were beaming from ear to ear and thanked me several times for creating something so great with them. Finally, all the children hung their magnet with the corresponding picture on the board. What do you think: great, right?
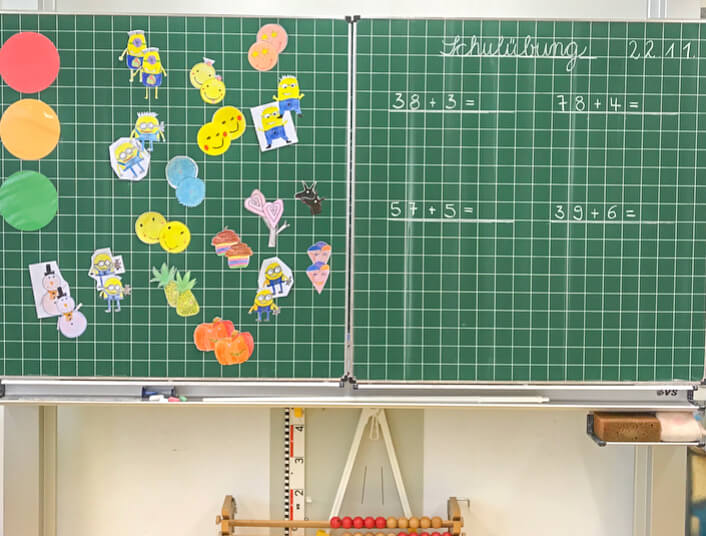
The magnetic foil is not only suitable for primary school lessons. I can well imagine that kindergarten children can also create great magnets. But even the “big ones” have no limits when it comes to their creativity and DIY magnet production.
Would you like to create a DIY magnet from a photo? This also works with that Magnetic foil from SKULLPAPER. Simply print the photo on the magnetic foil and 'tadaaa', a very individual result.
