At this time of year there is nothing better than homemade jam with fruits from the local region. I think it tastes much fruitier than the jam from the supermarket around the corner, is less sweet and there is a large portion of love in it too.
My dear grandmother used to make jam for the whole family - today I am responsible for it and the tradition lives on!
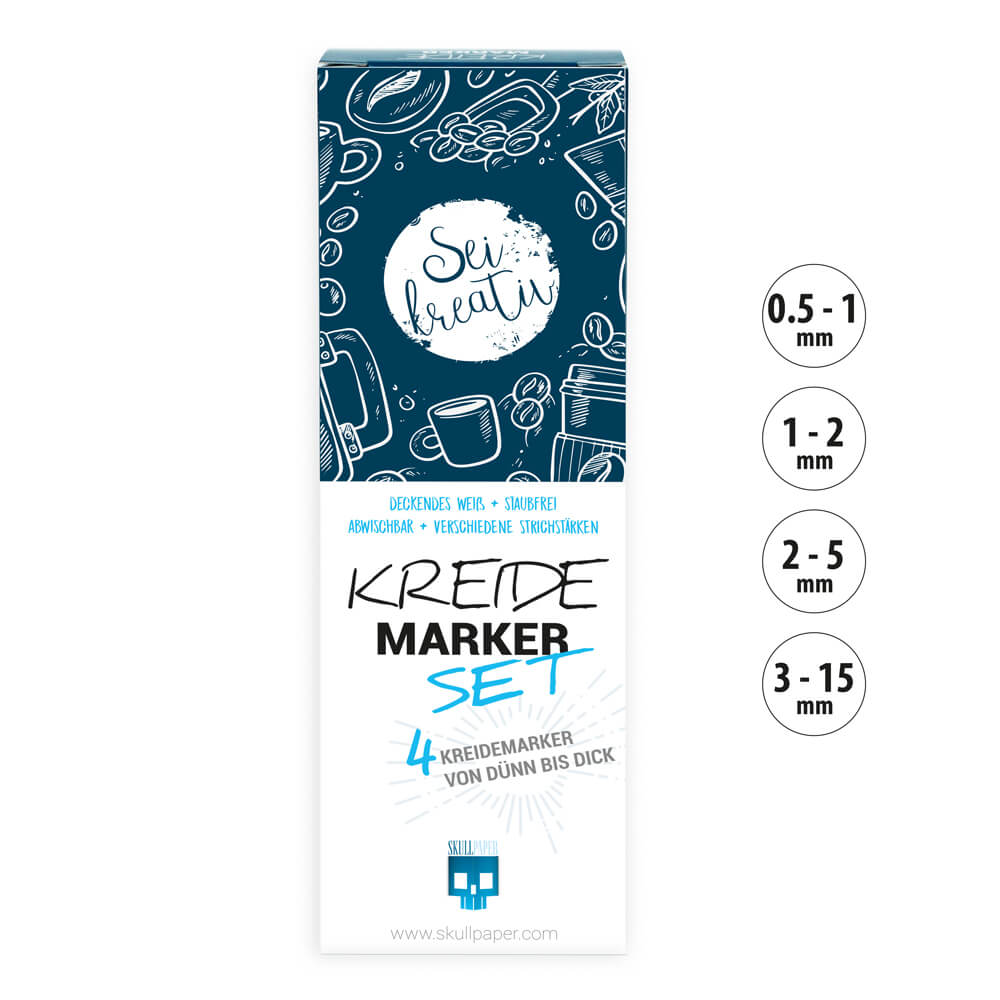
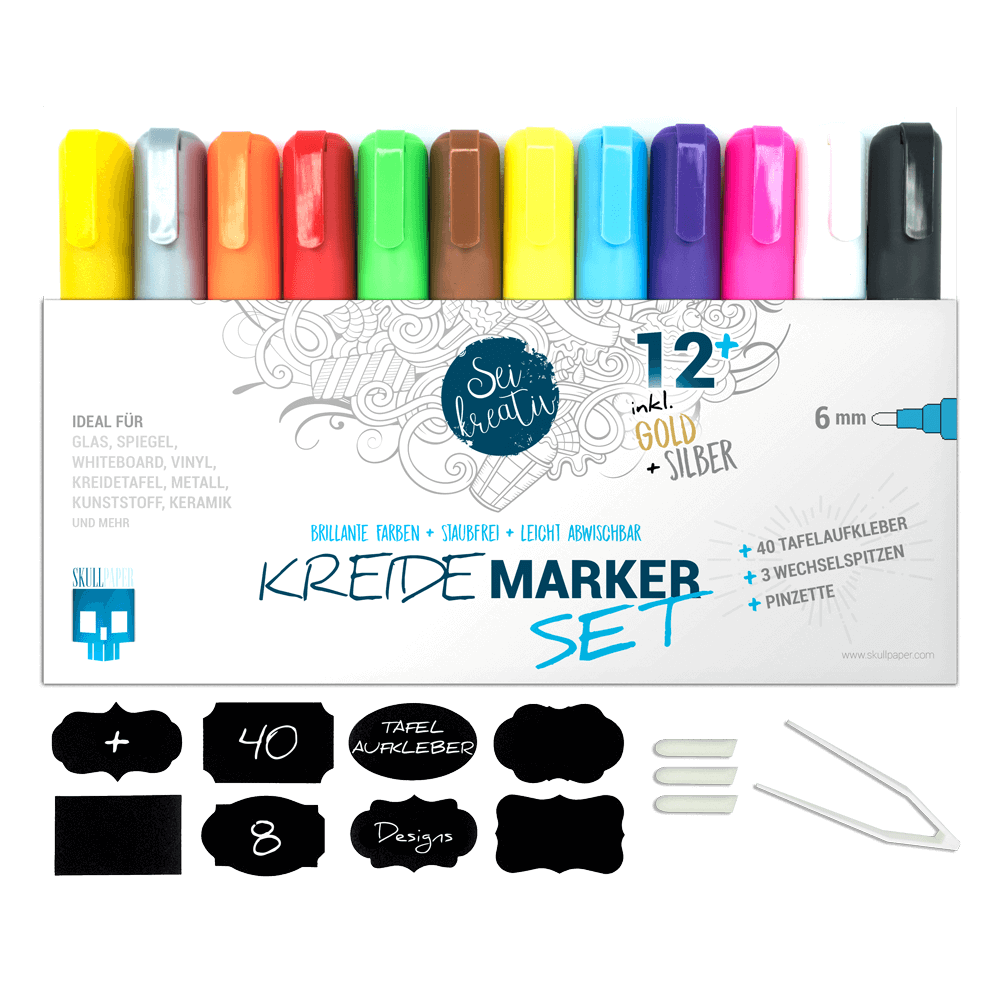
Thanks to the great DIY labels from SKULLPAPER, which can be easily written on with chalk markers, my jam jars are a real eye-catcher.

You need:
... chalk markers from SKULLPAPER
…old jams or Mason jars
… Berry
… jamming sugar
… a Blender or Blender
… a Stove including one large cooking pot
There are no limits to your choice of berries: whether it's strawberries, raspberries, currants, blueberries or blackberries, or a creation made from different berries - it's the variety that counts!
For the delicious jam you need a kilo of the berries of your choice. I started with strawberries, my family's favorite jam. You should clean the strawberries well and remove their stems and leaves.

Then throw the berries into your blender. I pureed 500 grams twice so that the pureed berries result in a nice, even, smooth mass. Blackheads don't want larger pieces. But it's entirely up to you how finely you puree the berries. I used a stand mixer for this, but from my own experience I know that it also works well with an immersion blender.

Now put the pureed mixture in a large pot and stir in a packet of preserving sugar. I always use the two plus one mixture here – 1000 grams of berries: 500 grams of sugar.
For a special touch, I add the juice of a whole lime and a sprig of fresh mint to the berry mixture. You should chop the mint into small pieces beforehand or even puree it. This gives the jam a very special and fresh taste.


Once you have mixed all your ingredients in the cooking pot, proceed as described on the packet of your preserving sugar.
As soon as the jam is filled and the lid is tightly closed, turn the jam jar upside down. This means the jar can seal airtight and the shelf life of your jam is guaranteed. ... at least as far as the expiration date is concerned. In my house, the jam lasts for a few weeks because it tastes so delicious and everyone in my family wants a jar of it.
Make sure to only stick the SKULLPAPER DIY labels on your jars once the jam has cooled down. This way you can avoid small air bubbles forming under the labels.
You can use the time while the jam cools productively and start writing the adhesive labels.
The variety of colors of the chalk markers is particularly great, so you can design each individual DIY label individually. Your creativity knows no limits! And if you no longer like a label, you can easily wipe off the chalk paint with a damp sponge.

Finally, all you have to do is stick the labeled labels on your jam jars and *tadaaa* your homemade jam is ready in pretty, individually designed jars.

Immediately afterwards I made a few jars of jam from a mix of blueberries and raspberries. Here again I added the juice of a lime and a handful of fresh mint.

Next I will cook currant and blackberry jam. For this I will use a juicer instead of a blender to remove the hard seeds. I can imagine that fresh vanilla would also work well in DIY jam - we'll try that out straight away! The jam is a real culinary delight and should not be missing from any breakfast! A roll or fresh bread, some butter and homemade jam - there's nothing better!

The jars look really pretty thanks to the great labels from SKULLPAPER. The jam also makes a nice souvenir!

Now it is your turn! How do you use SKULLPAPER's DIY labels and chalk markers? If you want, show it on Instagram using the hashtag #myDIYskullpaper
Have fun being creative!