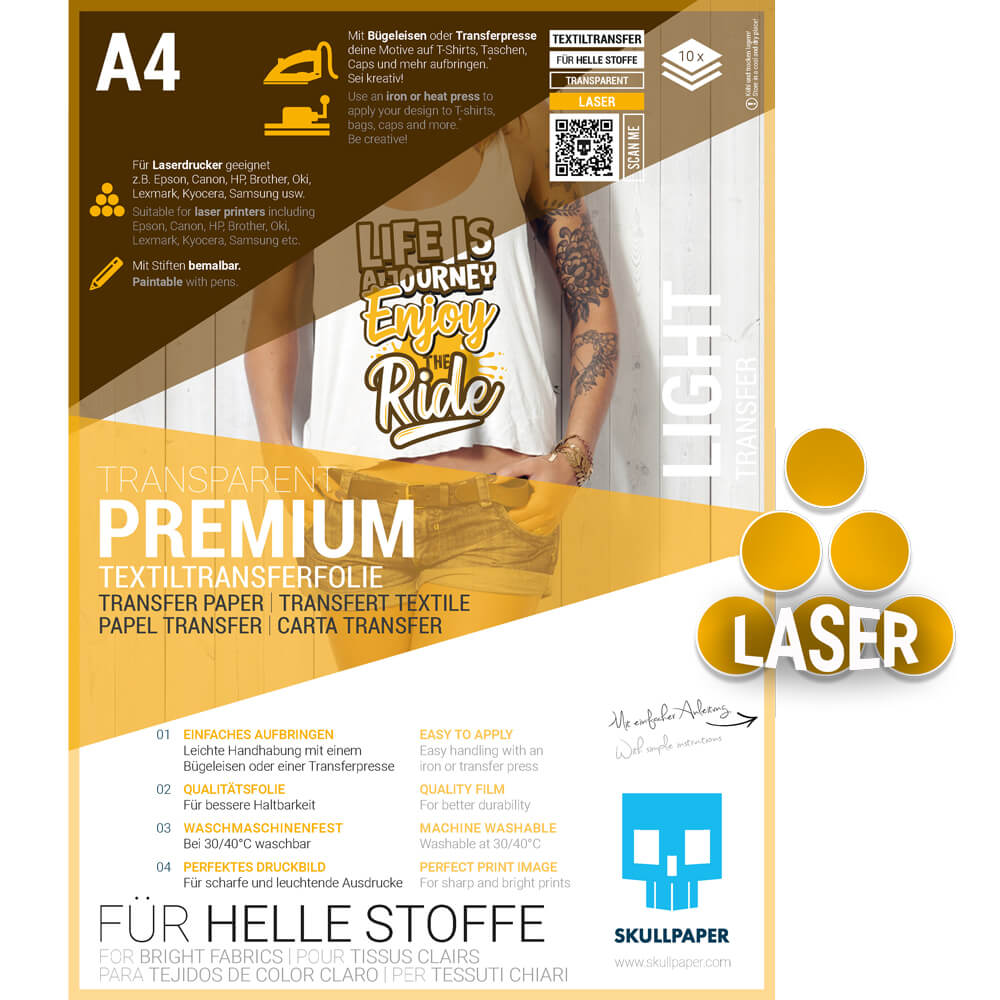
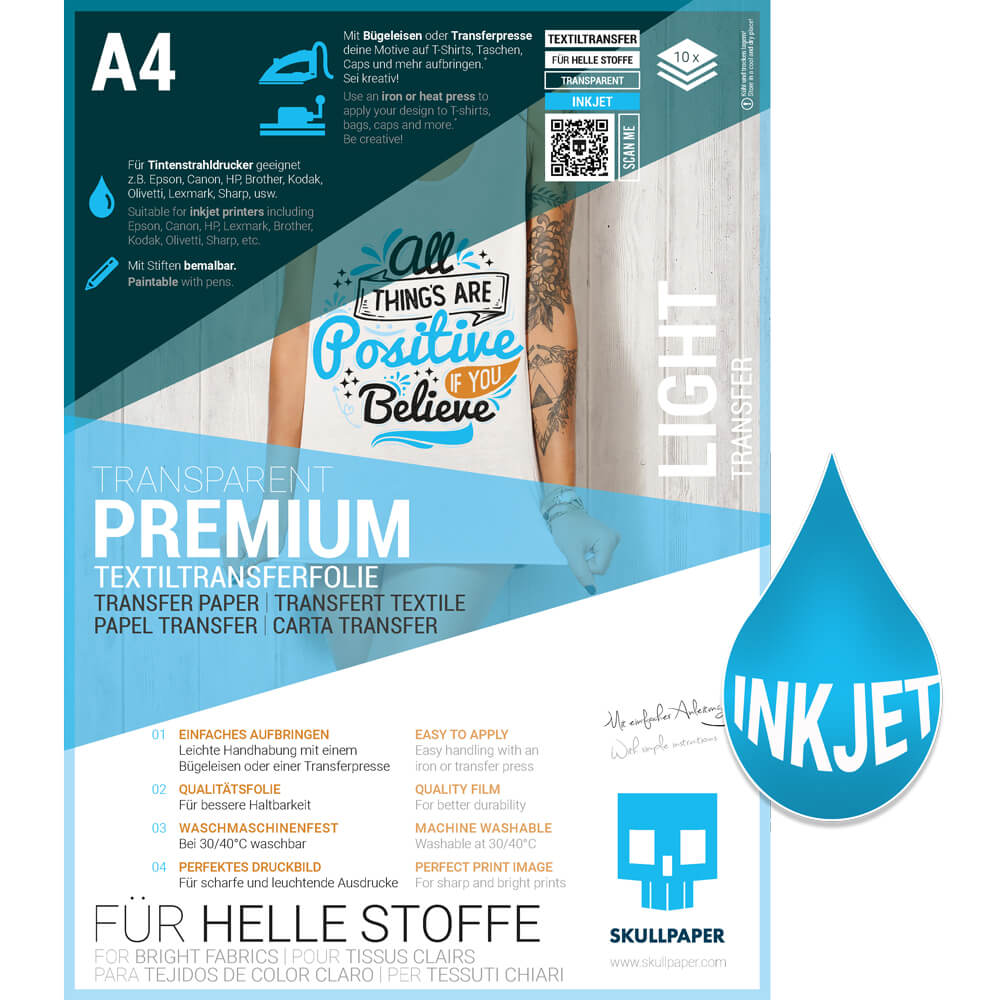
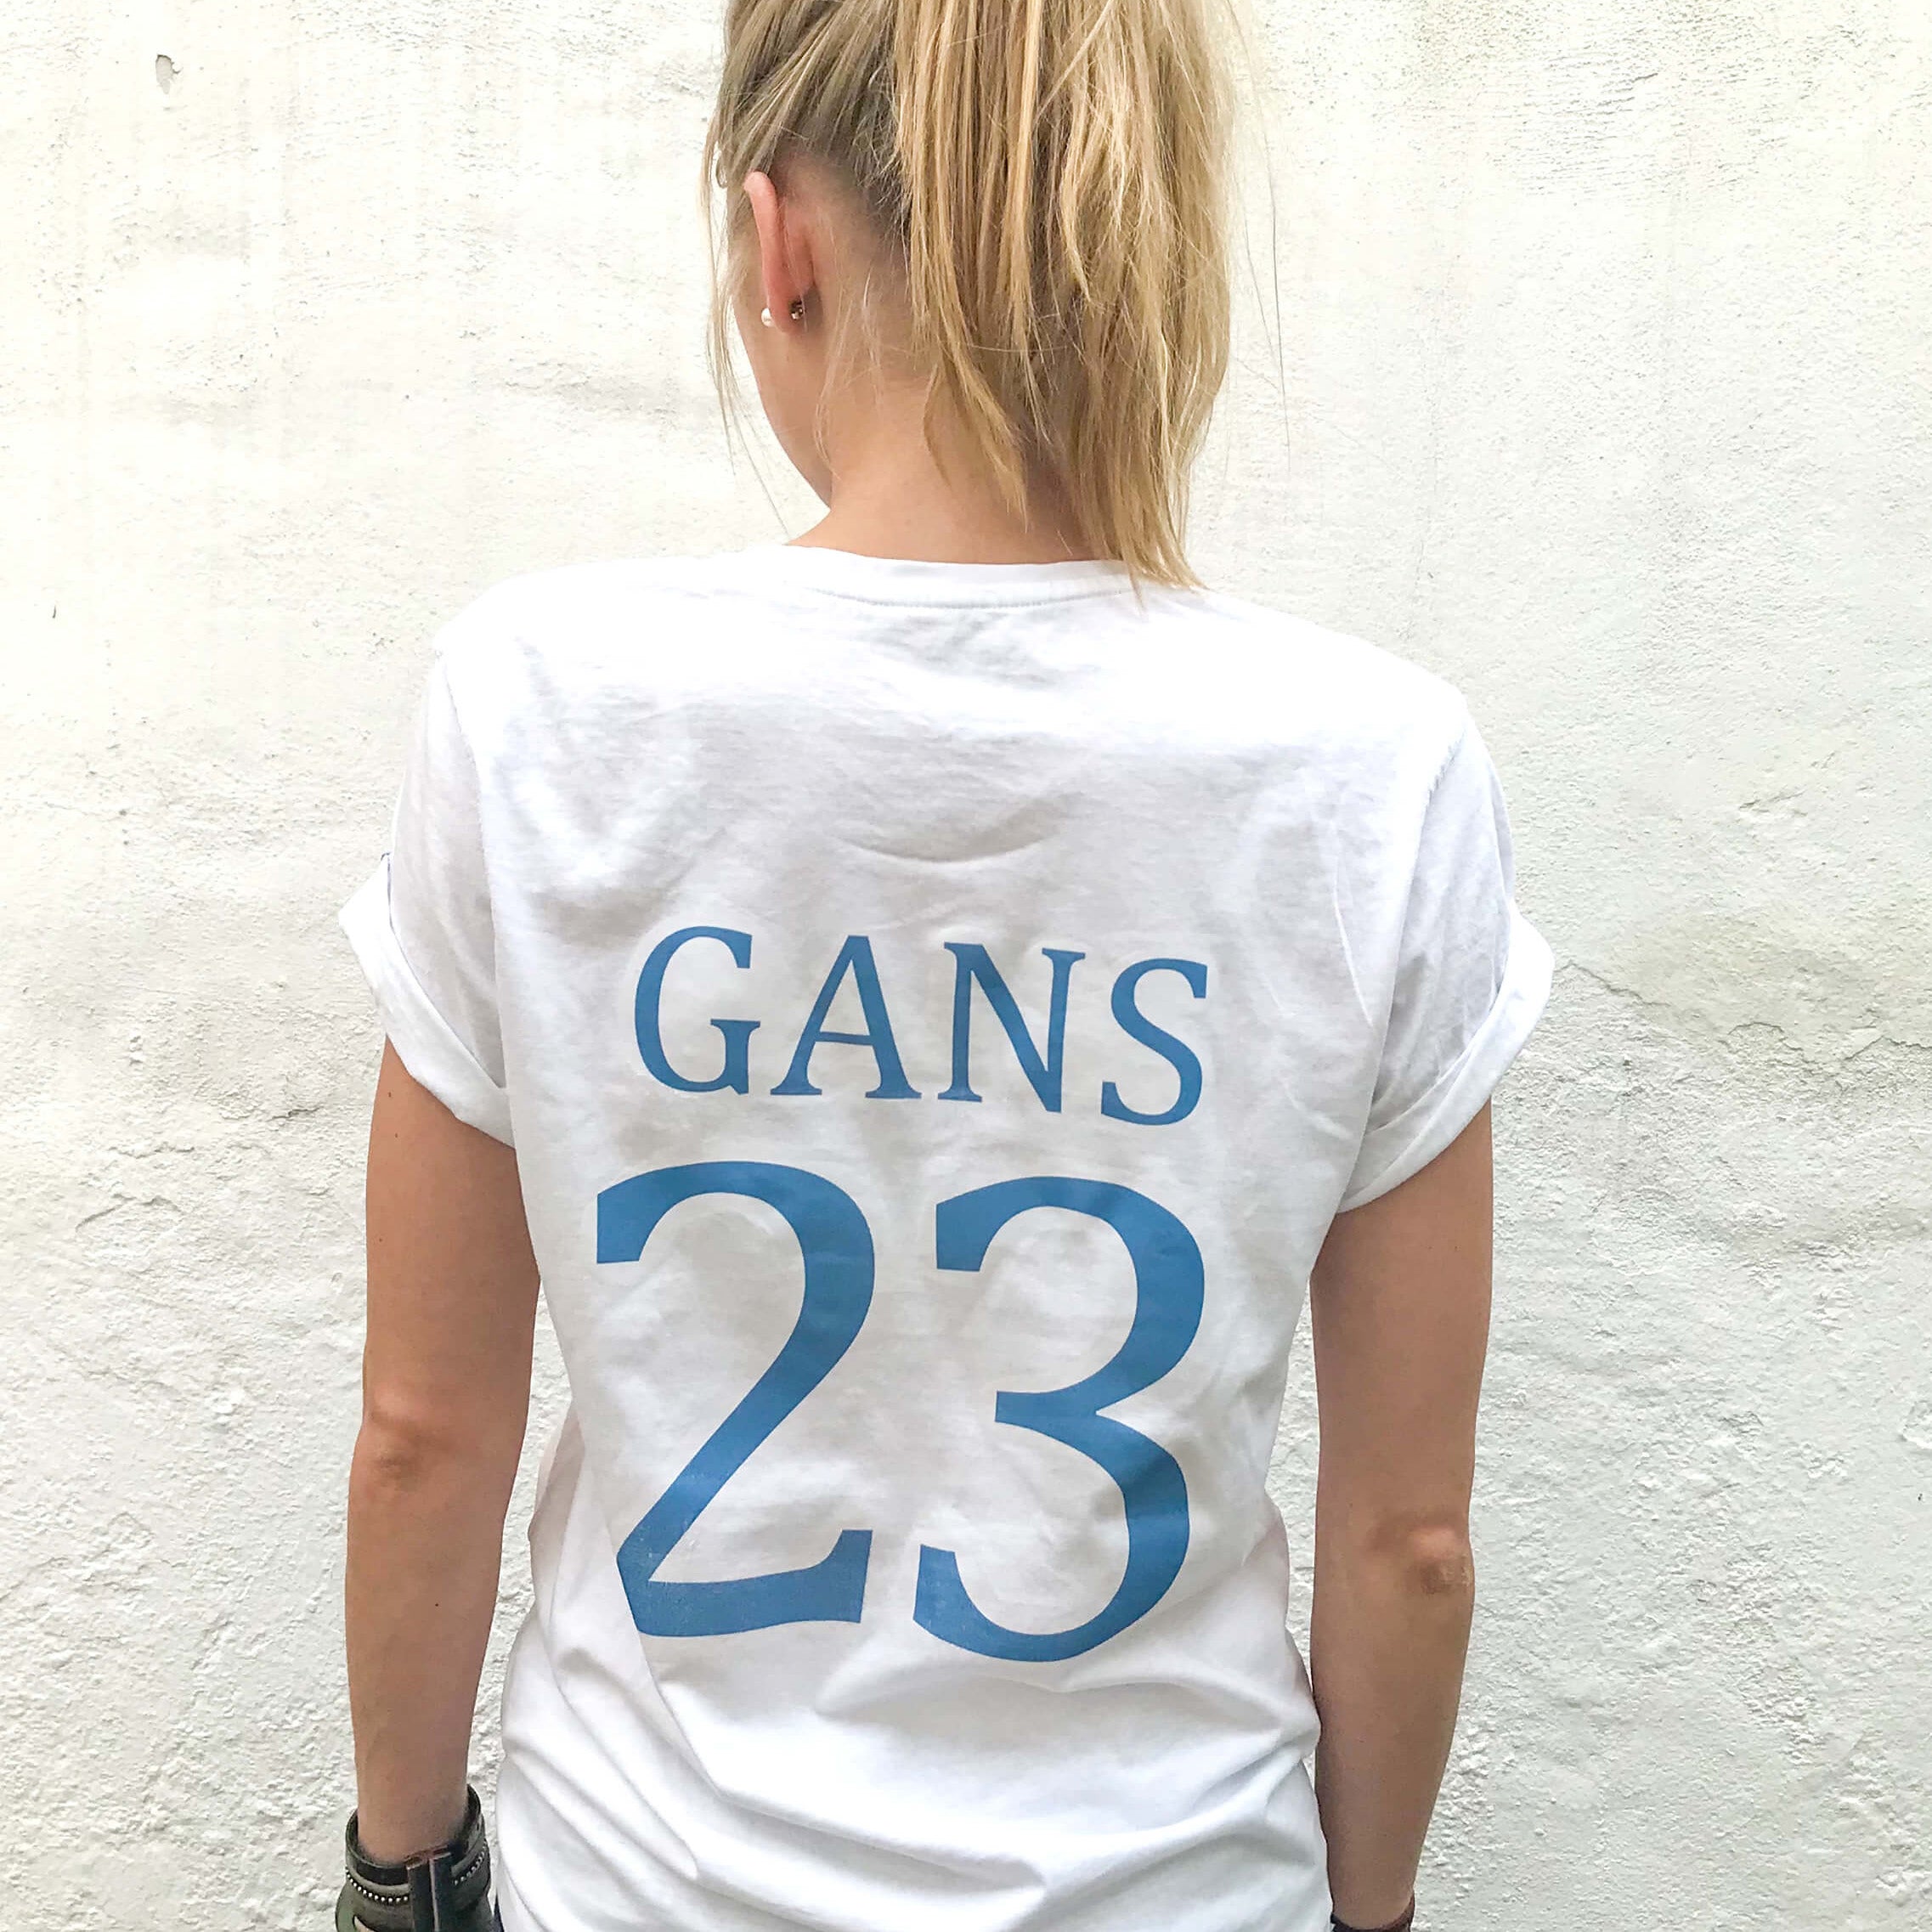
Want to get your own labels quickly and easily? This is an excellent solution for anyone who likes to sew and do handicrafts themselves: With the help of T-shirt transfer film from SKULLPAPER, small lettering and logos can be easily placed in your works. Alternatively, you can print small cotton ribbons with them and sew them into your clothes or similar like purchase labels!
Here I'll show you how it works in a short tutorial.
You need:
… T-shirt transfer film for light-colored fabrics
... an inkjet printer
...hot Iron (switch off steam function)
... festivals document for ironing (no ironing board, it's too soft)
and of course that Cotton ribbon or sewing material that is to be printed

And so it goes:
1) Draw the label and scan it - or use a digitally designed label. You now place the label in an empty document. If possible, use the entire space on the page you want to print (insert lots of small and large lettering, ornaments, etc.).
2) Prepare the page for printing by using the “Flip Horizontal” printer menu (works on most printers) and making the settings as described in the film’s instructions for use. (For me: plain paper, high quality, the only paper in the printer is the transfer foil).
3) Make a test print on a normal, blank DIN A4 page (plain paper, not the foil yet!). Then you can start printing the film.
4) Let the foil dry (see instructions for use of the foil) and cut out your labels, rounding off the corners.
5) Prepare a suitable surface on which to place your ribbons or works. Place the labels on the cotton ribbons or fabric. With the transfer film for dark fabrics, you first have to remove the backing paper and finally place baking paper over the placed film.
Iron the labels on at the highest setting with a lot of pressure and heat.
Complete!

This method is great if you just want to experiment a bit and don't want to order expensive ready-made labels straight away. I have been using transfer film for my labels for almost 2 years and am still very satisfied.
On my blog www.lila-wie-liebe.de I show free DIY instructions, free patterns for sewing and all sorts of useful things about life with small children - get inspired!


